Cheese On Apple Pie
Cheese on apple pie is a cozy, nostalgic pairing that shows up on fall tables across the country. The salty bite of cheese against warm, spiced apples makes each slice feel like a small celebration.

Is It Common To Put Cheese On Apple Pie?
Yes. While many people reach for ice cream, plenty of pie lovers top a warm slice with cheddar or bake cheese right into the crust. You will see it at diners, county fairs, and family dinners where traditions run deep.
What State Puts Cheese On Apple Pie?
Vermont is the state most often linked with apple pie and cheddar. The pairing also appears across New England and the Great Lakes, where cheddar on warm pie is treated as normal, not a stunt.
What Cheeses Pair Well With Apple Pie?
Choose cheeses that add contrast without overpowering the fruit.
- Sharp or extra sharp cheddar for a salty, bold counterpoint
- White cheddar for a clean, firm bite
- Gruyère for a rich, rounded profile that melts smoothly
- Young gouda for easy melt, aged gouda for nutty depth
- Provolone or American if you want a very even melt on top
Tips that help:
- Warm the pie slightly so thin slices of cheese soften on contact.
- If baking cheese into the pie, use a modest amount to keep the crust crisp.
- A pinch of sea salt on the cheese can sharpen the contrast.
Do People In Wisconsin Put Cheese On Apple Pie?

They do. With a strong dairy culture, Wisconsin bakers often pair local cheddar with apple pie. Some tuck thin cheese into the top crust. Others serve slices on the side and let guests melt it over warm pie.
How To Add Cheese To The Crust
A cheddar crust turns the pie into a true cheese and apple experience. Here is a clear path that mirrors the recipe you shared.
- Cheddar crust essentials
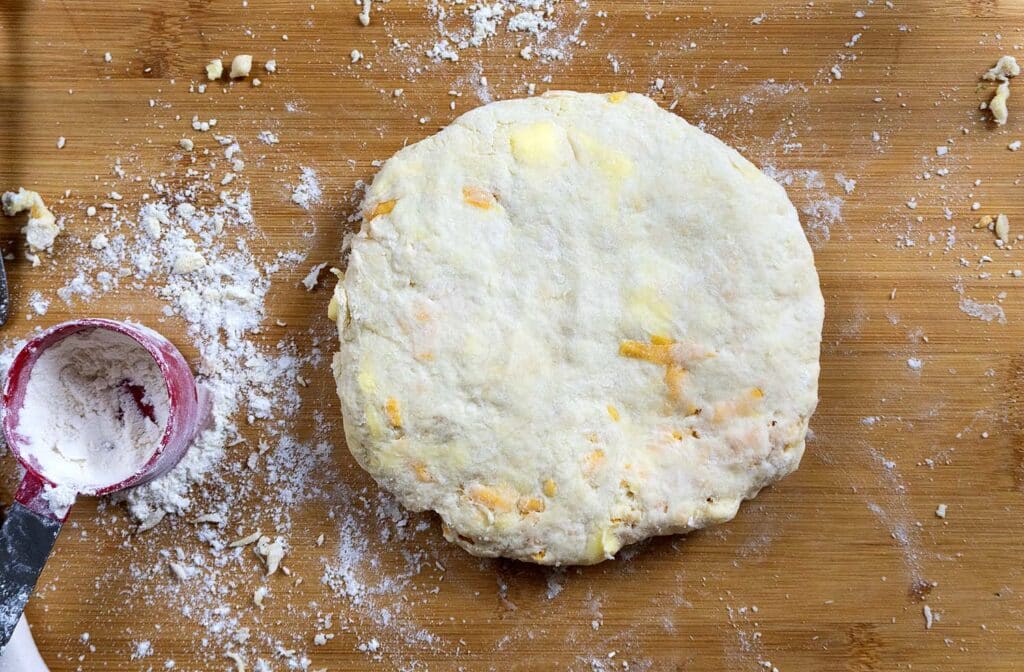
All purpose flour, a little sugar and salt, cold unsalted butter, very cold water, and freshly shredded sharp cheddar. Chill the dough so the butter stays in small bits. That makes flaky layers. Fold the cheddar in gently near the end so it streaks through the dough rather than clumping. - Step cues
Drizzle cold water into the flour and butter until the dough clumps. Fold in the cheddar, then divide, wrap, and chill. Roll the bottom crust, fit it into a 9 inch dish, and keep it cold while you make the filling. Brush the assembled top with egg and milk for shine and color. - Apple filling highlights
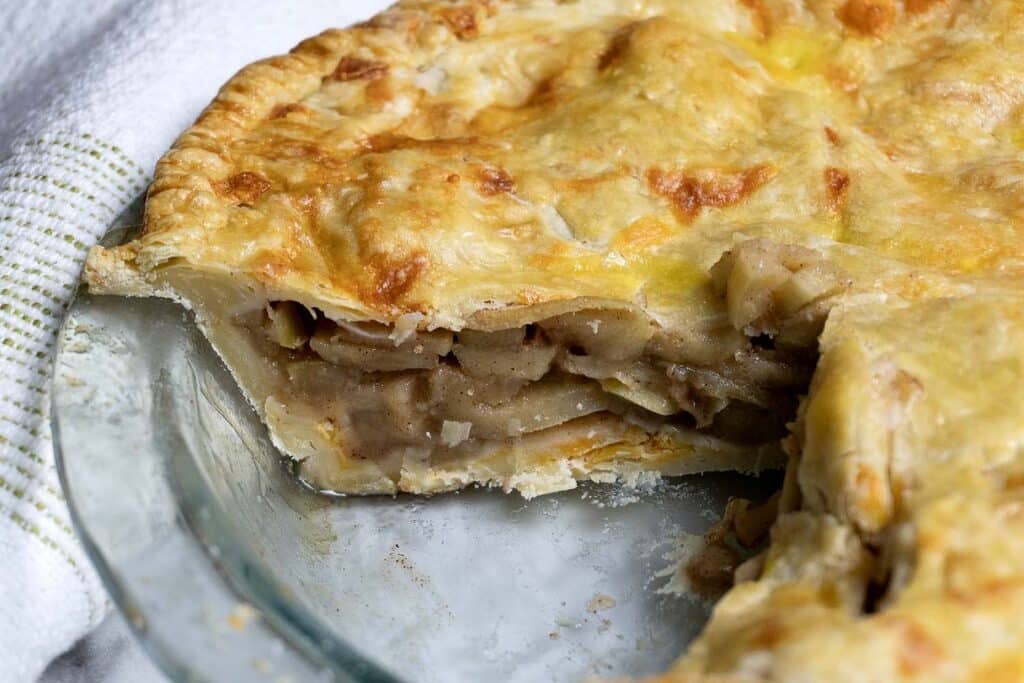
Granny Smith apples for structure, granulated sugar, lemon juice, apple pie spice, a touch of cinnamon, and a quick cornstarch slurry. Pre cook the apples briefly on the stovetop until they start to soften and the juices look glossy. Cool before filling the crust so the bottom stays crisp. - Bake pointers
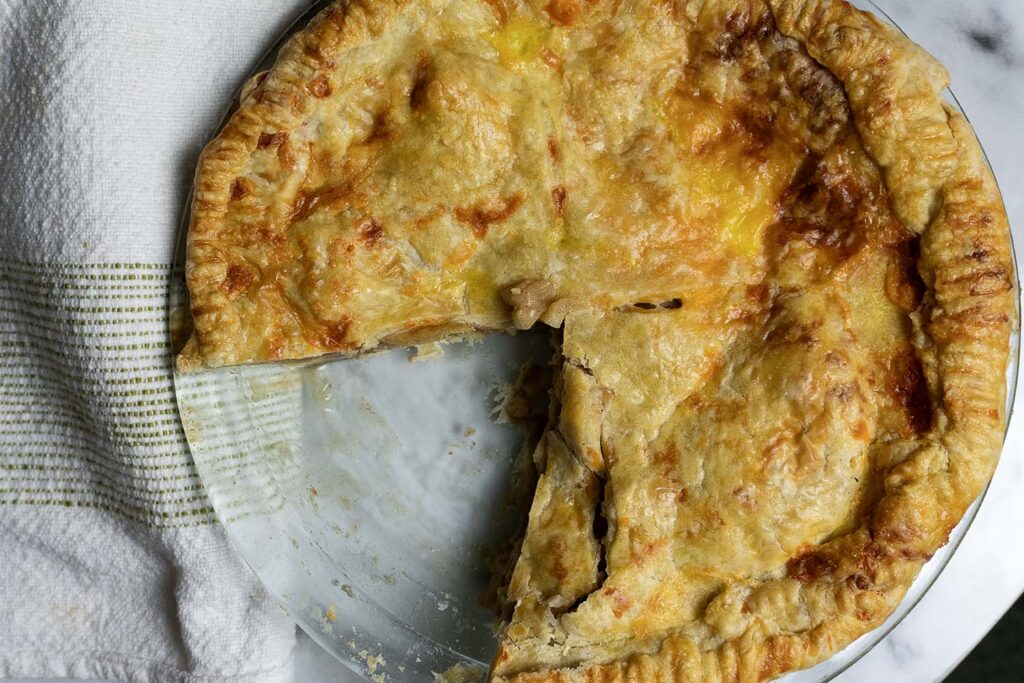
Start hot at 400°F for 20 minutes. Shield the rim if it browns fast. Drop to 375°F and continue until the crust is deep golden and the filling bubbles. Cool at least 2 hours so the slices stand tall.
Quick Serving Ideas
- Melt thin cheddar over a warmed slice under a low broiler for 20 to 30 seconds.
- Grate a little cheddar over the pie table side for a lighter touch.
- Add a small wedge of cheddar on the plate and let guests pair bites.
Storage Instructions
- Room temperature
If the pie is fruit only, cover and keep at room temperature for up to 2 days. If the kitchen is warm, move it to the fridge after day one. - Refrigerator
Store covered for 3 to 4 days. Rewarm slices at 325°F until the crust is crisp and the filling is just warm. - Freezer
Wrap whole pies or slices tightly and freeze for up to 3 months. Reheat from frozen on a lined sheet at 350°F until hot and crisp. - Cheese
Keep extra cheddar wrapped in parchment, then plastic or a reusable wrap. Refrigerate and bring to room temp before serving with pie.

Cheddar Apple Pie
Equipment
- 1 9 inch pie tin
Ingredients
For the Cheddar Crust
- 2½ cups all purpose flour
- 1 tbsp granulated sugar
- 1 tsp salt
- 1 cup unsalted butter chilled and cut into small cubes
- ½ cup cold water
- 1 cup freshly shredded sharp cheddar cheese
- 1 egg
- 1 tbsp milk
For the Filling
- 8 large Granny Smith apples cored, peeled, and cut into slices
- ½ cup granulated sugar
- 2 tbsp lemon juice
- 1½ tsp apple pie spice
- ½ tsp cinnamon
- ¼ cup water
- 2 tbsp cornstarch
- 2 tbsp water
Instructions
Cheddar Crust
- Place ice cube in ½ cup water to ensure it's very cold. Let melt while you prepare the crust.
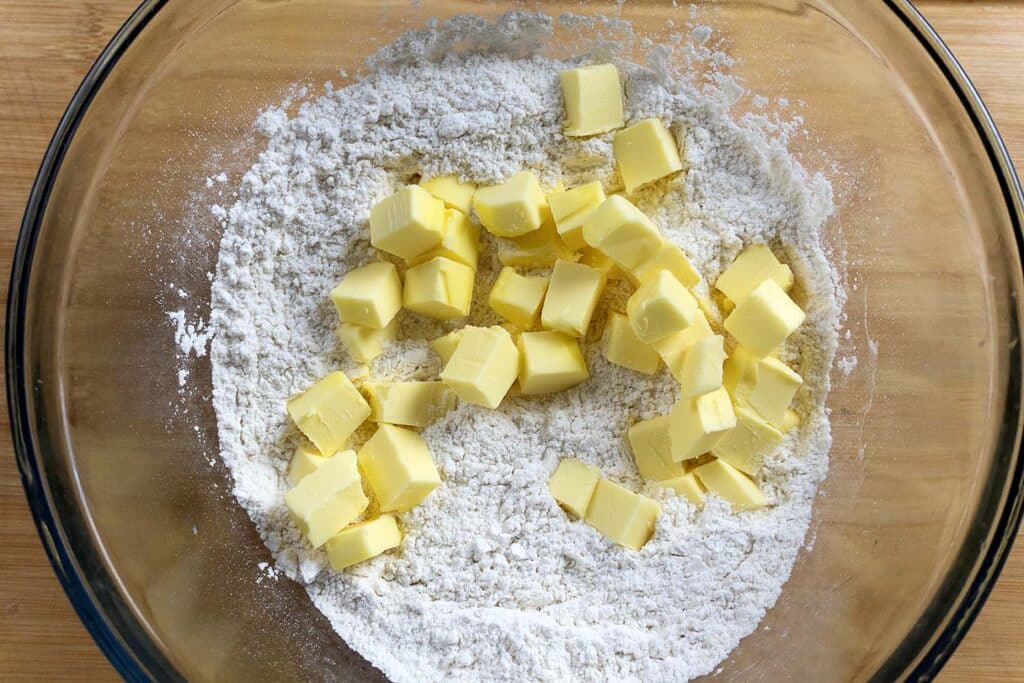
- In a large bowl, mix the flour, sugar and salt. Add the cubed butter. Use a pastry cutter or your hands to cut the butter into the dry ingredients. You want pea-sized pieces of butter coated in flour, but it's ok if there are some large bits.
- Take your ~ ½ cup of cold water and drizzle 2 tbsp into the flour mixture at a time, stirring after each drizzle. Stop adding water when large clumps begin to form (it should be moist, but not overly wet). Then, use a spatula to fold in the cheese. Try not to overwork the dough.
- On a lightly floured surface, fold the dough into itself a few times until the fats are incorporated.
- Form into a ball and cut in half. Using your hands, form each half into a 1 inch thick flat disk. Wrap tightly in plastic wrap and refrigerate for 2 hours or up to 2 days.
The Filling
- Peel, core, and cut the apple into thin slices or chunks (whichever you prefer). Place them in a large bowl. Sprinkle with the granulated sugar and lemon juice. Toss to coat and set aside.
- In a large pan over medium heat, add your butter, brown sugar, salt, apple pie spice mix, and ¼ cup of water. Stir frequently and bring to a low simmer.
- Dump in the apples, including any liquid from the bowl. Stir to coat the apples in the butter mixture. Cook, stirring occasionally for 5 minutes until slightly softened and fragrant.
- Meanwhile, mix together 2 tbsp of water and 2 tbsp of cornstarch in a small bowl. Add to the pan and stir to combine. Bring to a light boil and cook for another minute to thicken.
- Remove from the heat and allow to cool. The filling can be made several days ahead of time.
Assembly
- Start by flouring your work surface, then take one of the discs of chilled dough out (keep the other in the fridge for now). As you roll it out, give the dough a quarter turn every few rolls until you have a nice circle about 12 inches wide. If you spot any cracks at the edges, smooth them out gently with your fingers. Keeping your work surface, rolling pin, and hands lightly dusted with flour will make this process smoother.
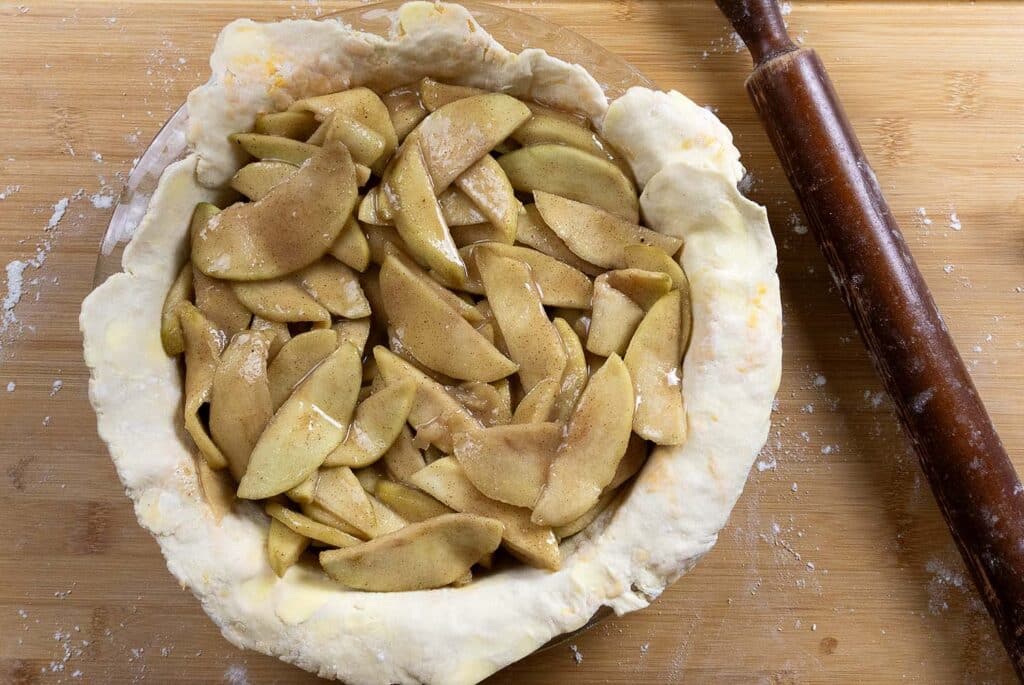
- Now, carefully transfer the dough into a 9-inch pie dish, tucking it in neatly with your fingers for a smooth finish. If you'd like a thicker edge, I usually leave the excess dough around the edges instead of trimming it. Just fold that extra dough back over the edge and shape it into a nice thick rim—this can be done either before or after adding the top crust.
- Add the filling into the crust.
- Roll out the second pie crust just like you did with the bottom one. You have a couple of options here: you can simply place the crust over the filling for a classic double crust pie (make sure to cut a few slits in the top for ventilation) or get creative with a beautiful pie crust design, like a lattice or braided pattern. For the edges, you can crimp them with a fork or use your fingers to flute them.
- To finish, brush the crust with an egg wash and, if you like, sprinkle some coarse sugar on top to add a delightful sweet crunch.
- Preheat oven to 400℉. While it's heating, place your pie in the refrigerator. The colder the pie, the better it holds up its shape.
- Bake for 20 minutes (with a baking sheet under it in case it bubbles over). At this point, add a pie crust shield or tin foil to protect the crust from burning. Lower the temp to 375℉, return to the oven, and bake for 35 more minutes.
- Cool for at least 2 hours before serving to allow the filling to thicken up.