How To Make Sushi Rice
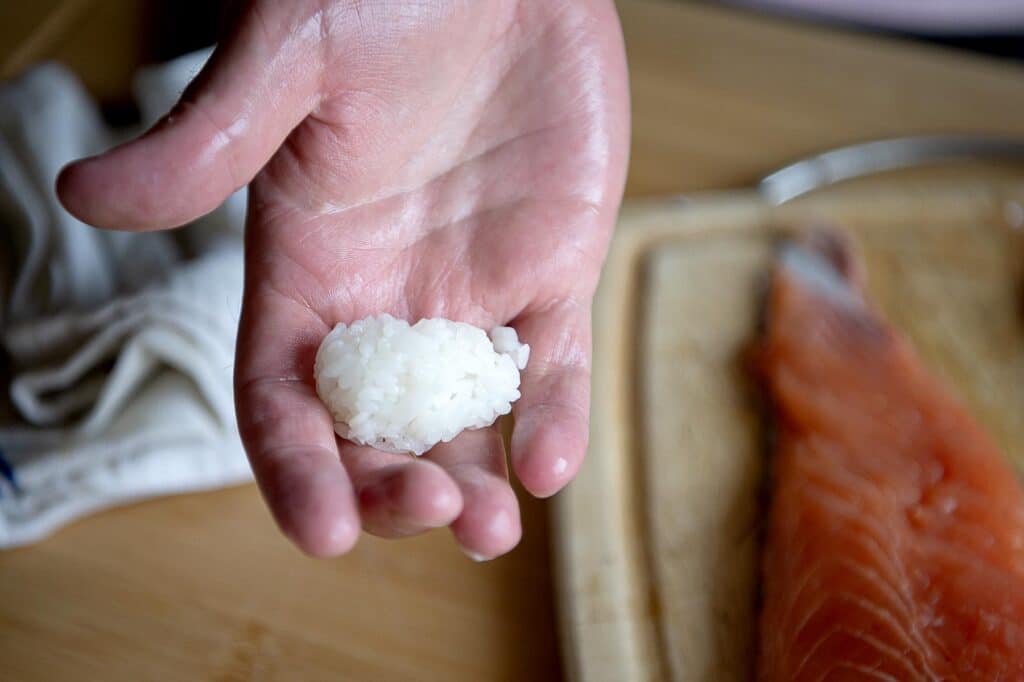
A big part of the allure of sushi, a popular Japanese dish, is the precisely cooked sushi rice that serves as its base. Its preparation is an art form that requires a deft balance of flavors and textures to bring out the best in every bite.
We dispel the myths surrounding this staple in this extensive guide, answering frequently asked questions and offering professional advice on its preparation and subtleties.
Why You’ll Love This
Gaining an understanding of the subtleties of sushi rice provides doors to a world of creative and exploratory cooking. Being aware of the subtleties improves your enjoyment of this beloved dish, regardless of your level of experience making sushi. Sushi rice is a versatile food that elevates everyday meals to remarkable gourmet experiences with its exquisite taste.
What Kitchen Tools Are Needed For This Recipe
To embark on your sushi rice journey, ensure you have the following kitchen tools:
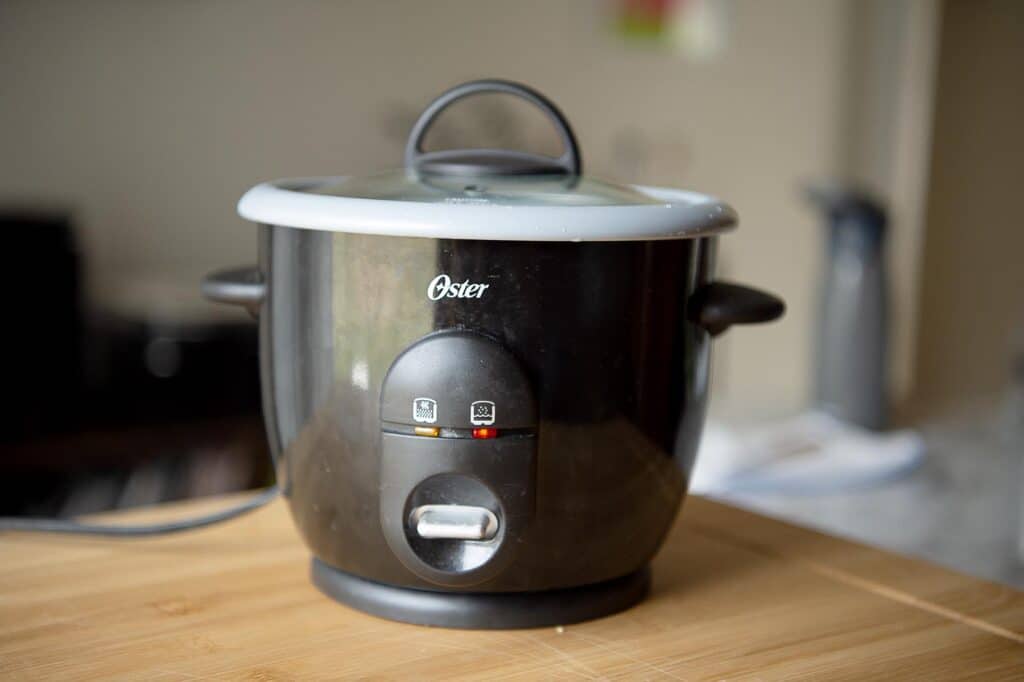
- Rice Cooker: A must-have gadget for quick and easy sushi rice cooking, a rice cooker streamlines the cooking process and ensures reliable results.
- Mixing Bowl: A well-made mixing bowl makes the seasoning process easier and guarantees that the tastes are evenly distributed throughout the sushi rice.
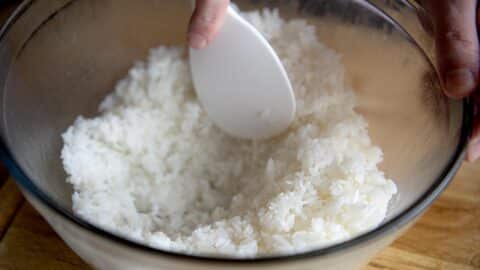
- Spatula: After the rice has cooked, use a spatula to combine it with the vinegar and cut through it.
- Hand Towel: This is necessary to handle the sticky rice vinegar solution and to cover the top of your rice while it cools.
What Ingredients Are Needed
To make the best sushi rice, gather the following ingredients:
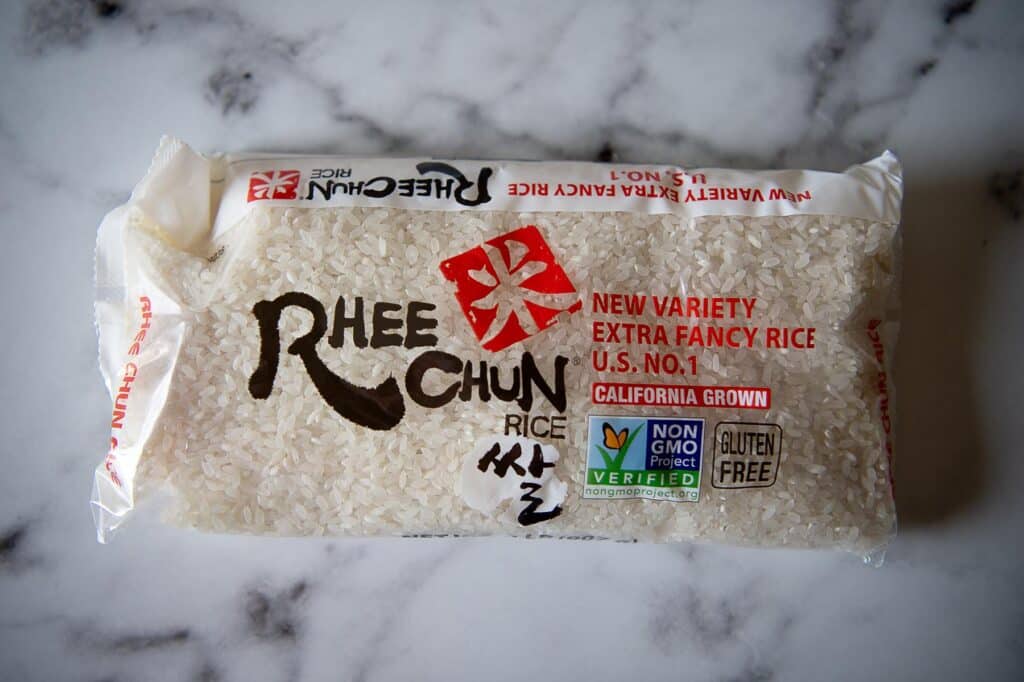
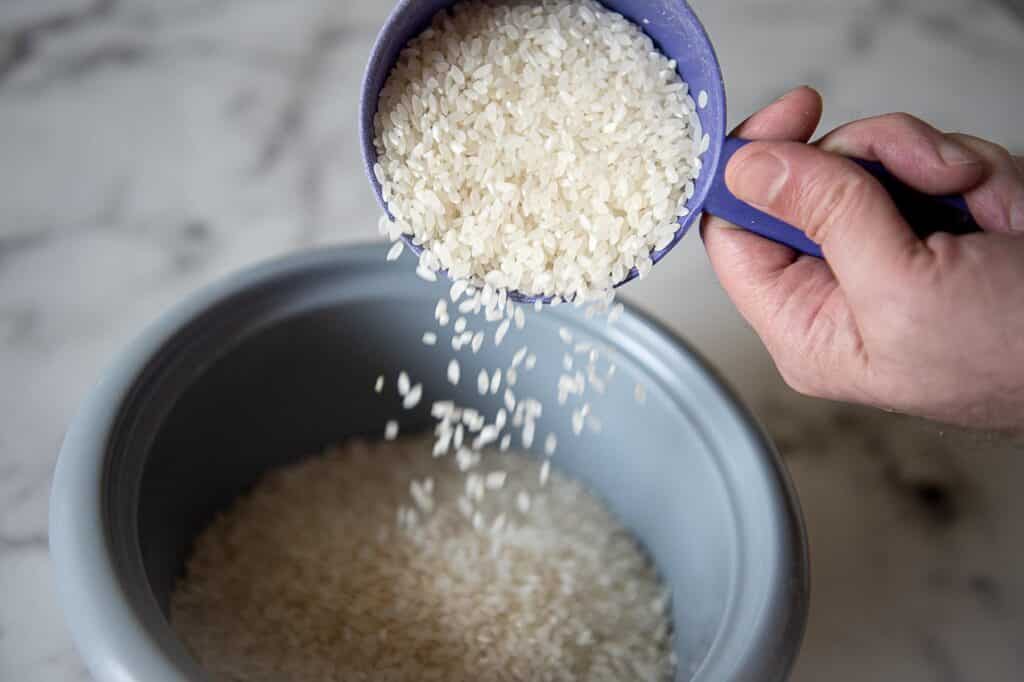
- Choose premium short-grain Japanese rice for sushi; it’s known for its sticky texture and capacity to bind items together.
- Rice Vinegar: Rice vinegar is an essential aspect of the seasoning; it adds a mild tanginess that balances the overall flavor profile.
- Sugar: Sugar adds depth and richness to the sushi rice by balancing sweetness and acidity, complementing the rice vinegar.
- Salt: A small teaspoon of salt balances the texture and flavor of sushi rice by enhancing its inherent tastes.
FAQ:
How Do You Cook Sushi Rice?
Before cooking, rinse it under cold water until the extra starch is gone, about one minute. Next, put the rinsed rice in a pot or rice cooker with water. Cook it until it becomes soft and slightly sticky. Once cooked, allow rice to cool somewhat before adding salt, sugar, and rice vinegar to season.
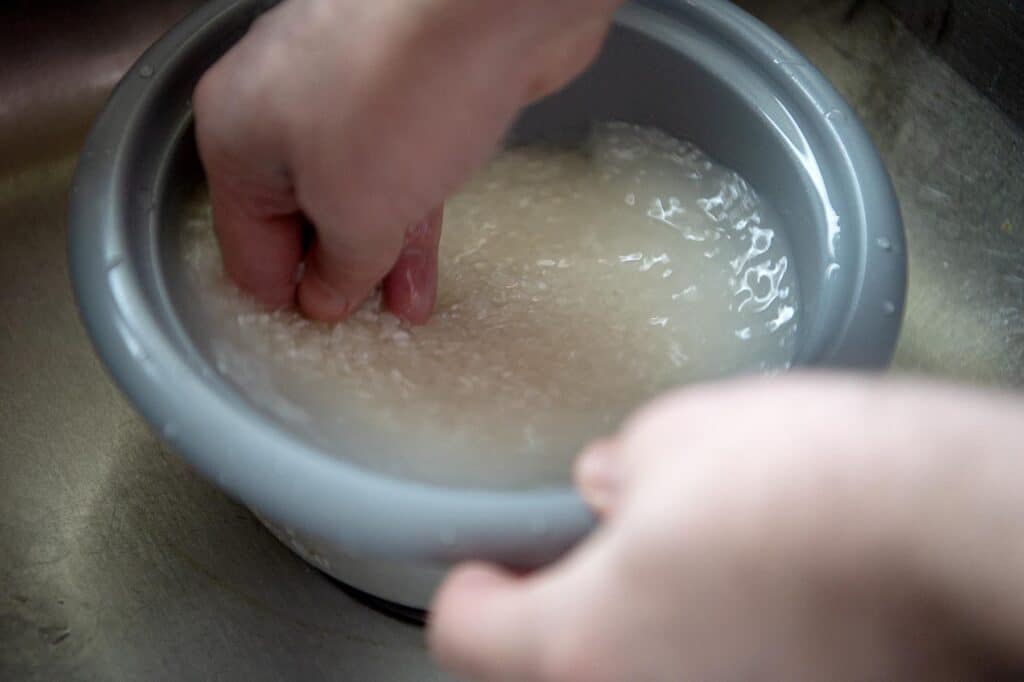
- Rinse: To get rid of extra starch, put the rice in a fine-mesh sieve. Run cold water over it until the water runs clear.
- Prepare: Use a 1:1.25 rice to water ratio in a rice cooker to mix the rinsed sushi rice with water. Cook the rice as directed by the rice cooker until it’s soft and slightly sticky.
- Get the seasoning ready: To make the seasoning, heat the rice vinegar, sugar, and salt in a small saucepan until they dissolve.
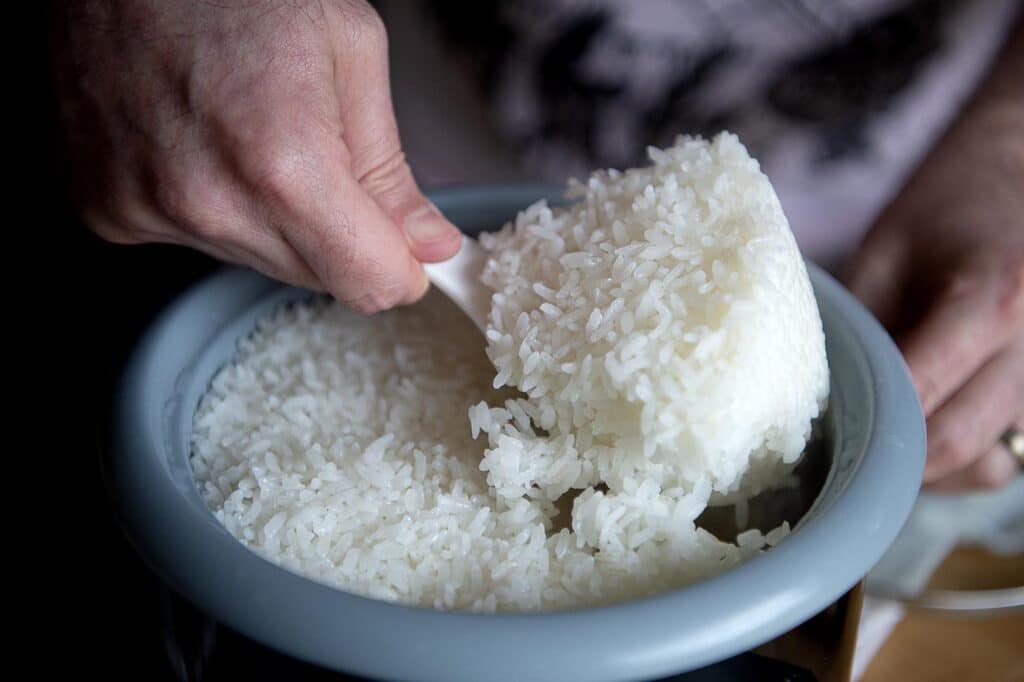
- After cooking, transfer the rice to a large mixing basin and season it. When the seasoning for sushi rice is gradually added, fold it gently in until it is equally distributed. Before using, let the rice cool to room temperature.
What Is The Best Rice For Sushi Rice?
Sushi rice, or short-grain Japanese rice, is the ideal choice to use making sushi. Calrose and Koshihikari are two popular varieties. They are popular because of their sticky texture and capacity to stay together when rolled into sushi.
How Do You Make Sushi Rice In A Rice Cooker?
Rinse the rice and add it to the rice cooker along with the recommended amount of water. The water-to-rice ratio is typically about 1:1.25. Follow the directions on the rice cooker to cook the rice. After cooking, allow the rice to cool somewhat before adding salt, sugar, and rice vinegar to season it.
What Is The Water Ratio For Sushi Rice?
Sushi rice normally calls for a water ratio of 1:1.25. This means that you would need 1.25 cups of water for every cup of rice. However, based on personal choice and the variety of rice, this ratio may differ slightly.
What Is The Difference Between White Rice Vs Sushi Rice?
Short-grain that has been specially grown and prepared for sushi is known as sushi rice. The stickiness and texture of the rice are the primary differences. It is perfect for preparing sushi. It is stickier and has a hint of sweetness than plain white rice.
What Are The Calories In Sushi Rice?
Sushi rice has different amounts of calories depending on how it is prepared and served. A cup of cooked sushi rice has about 240 calories in it on average. However, depending on variables like additional ingredients and portion quantity, this value might change.
What Can You Make With Sushi Rice?
Here are a few of our favorite sushi recipes:
Helpful Tips
- Choose premium sushi rice, such Calrose or Koshihikari, for the true taste and texture.
- To suit your tastes, try with different proportions of rice vinegar, sugar, and salt while adjusting the seasoning ingredients.
- Take care not to overwork the prepared sushi rice and maintain its delicate texture.
History Behind This Recipe
Sushi rice’s development is a reflection of Japan’s rich culinary heritage. Centuries of rice cultivation and fermentation have produced exquisite results. This staple was first used to preserve fish. Eventually came to be seen as a necessary ingredient in sushi, representing Japanese culinary and cultural traditions.
Substitutions And Variations
Examine inventive substitutes and alterations:
- Brown Rice: Brown rice is higher in nutrients and fiber than white sushi rice, making it a healthier choice.
- Variations in Seasoning: Try blending varying amounts of sugar, salt, and rice vinegar to create distinctive flavors that range from savory to sweet.
Storage Instructions
Sushi rice can be kept fresh for up to three days in the refrigerator when stored in an airtight container. It should not be frozen because doing so will cause it to lose its quality and change in texture.
Gaining proficiency in making sushi rice is a fulfilling experience. Broaden your understanding of Japanese food and your culinary skills. It continues to be a staple of culinary perfection thanks to its exquisite flavor and adaptability.
- 1½ cups uncooked Japanese sushi rice short grained
- 1½ cups water
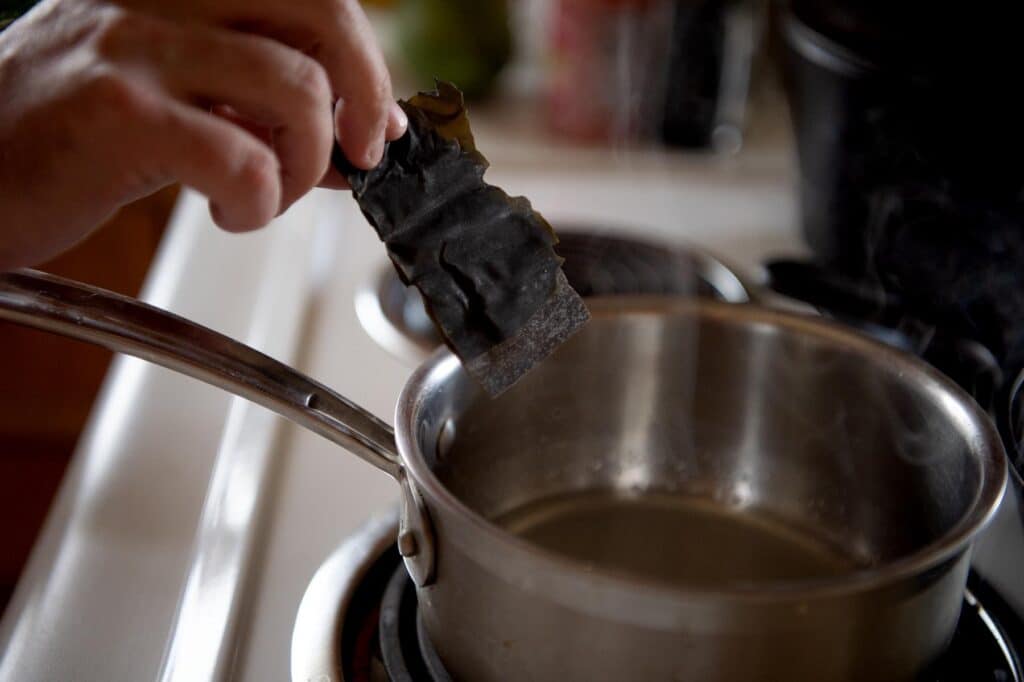
- 1 piece kombu
- 4 tbsp rice vinegar
- 2 tbsp sugar
- 1 tsp kosher salt
- Add the measured rice into your rice cooker bowl. Add just enough water to cover. Gently tip the bowl, using your hand to hold back the rice, and drain the water.
- Next, add water again to cover the rice. Put your fingers in the water and move in a circular motion for about 10 – 15 seconds. Drain the water. Repeat this set 2 – 3 more times until the water is clear.
- Next, place in your rice cooker. Fill with 1½ cups of water. (Sushi rice is made with a 1:1.25 ratio).
- Using a damp cloth, gently remove any dirt particle from piece of kombu if necessary. (Don't wash). Place in the rice cooker. Let soak for 20 minutes. Then start cooking.
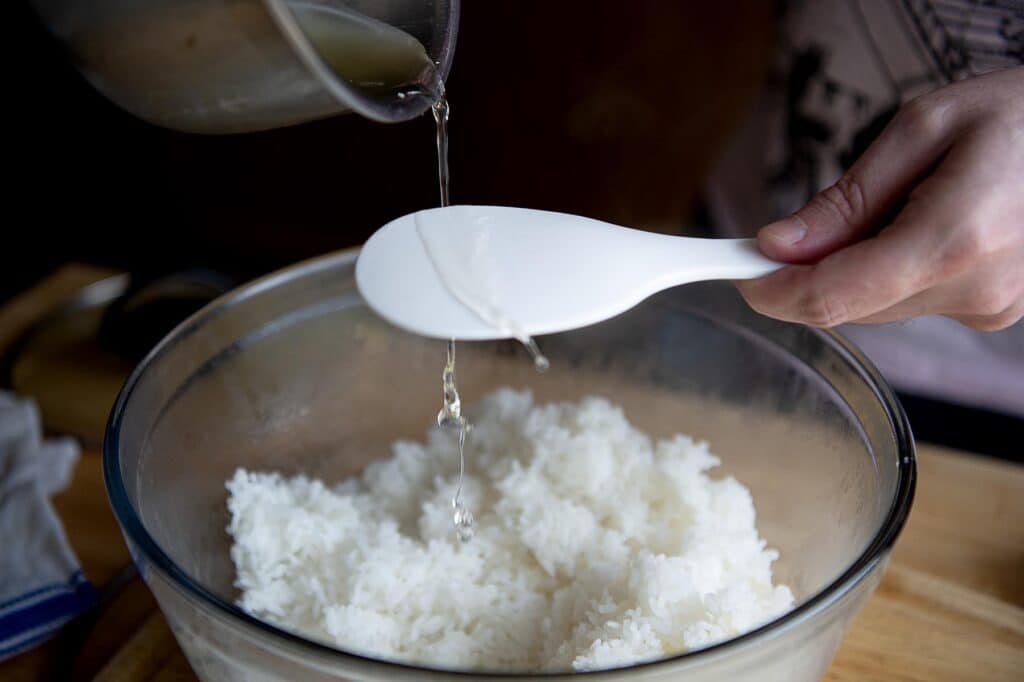
- Combine rice vinegar, salt, and sugar in a small sauce pan. Bring to a simmer over medium high heat.
- Whisk until sugar is dissolved. Remove from heat and let cool.
- Use a large bowl or a baking sheet lined with parchment paper. (Traditionally, a wooden hangiri is used). When the rice is cooked, removed the kombu.
- Transfer the rice to the bowl of sheet. Break it up and spread out so it cools faster.
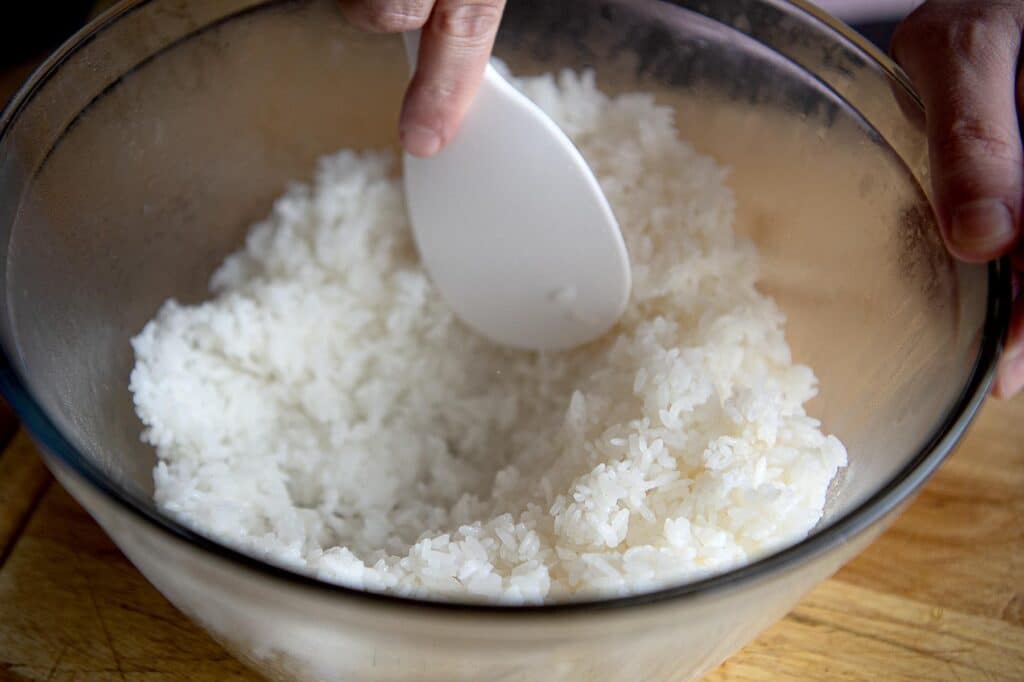
- With a rice paddle, gently “slice” the rice at a 45-degree angle while slowly pouring the sushi vinegar mixture over and separate the chunks of rice. Do not stir or mix the rice. Vigorously fan the rice with a paddle fan or another type of fan. Fanning takes away the excess moisture and makes the rice shine.
- Repeat the fanning process until the rice is room temperature. You sushi is now ready.
- You can keep the sushi rice covered with a damp towel or damp paper towel for a few hours at room temperature. put the sushi rice in an airtight container and store it in the freezer for up to a month. You can defrost it overnight in the fridge, and then microwave to room temperature (not hot).

