Cute Ghost Brownies
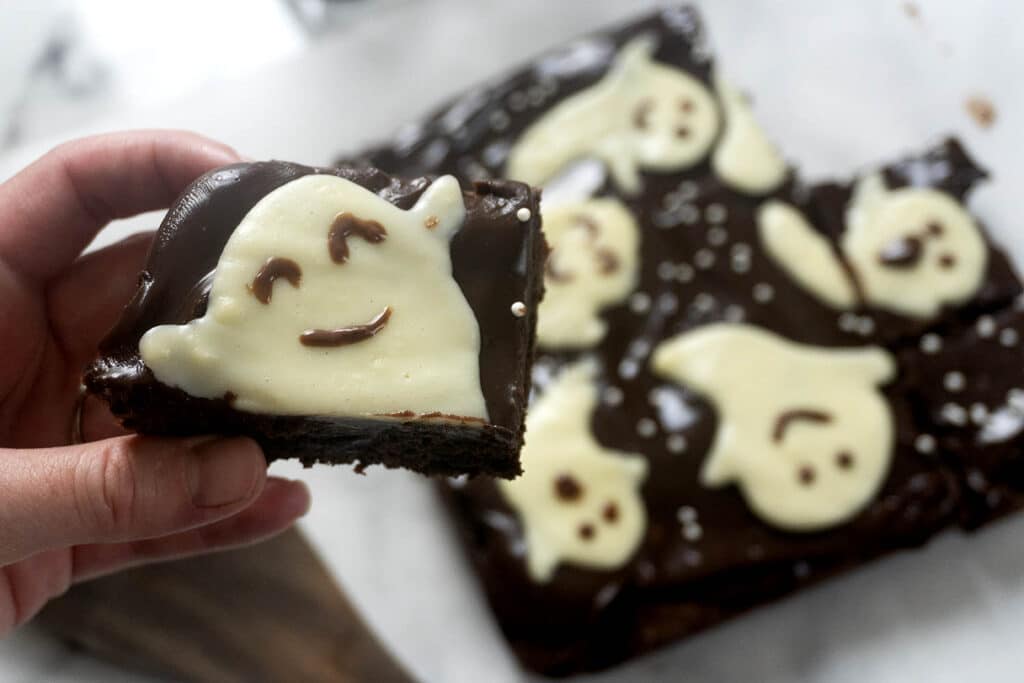
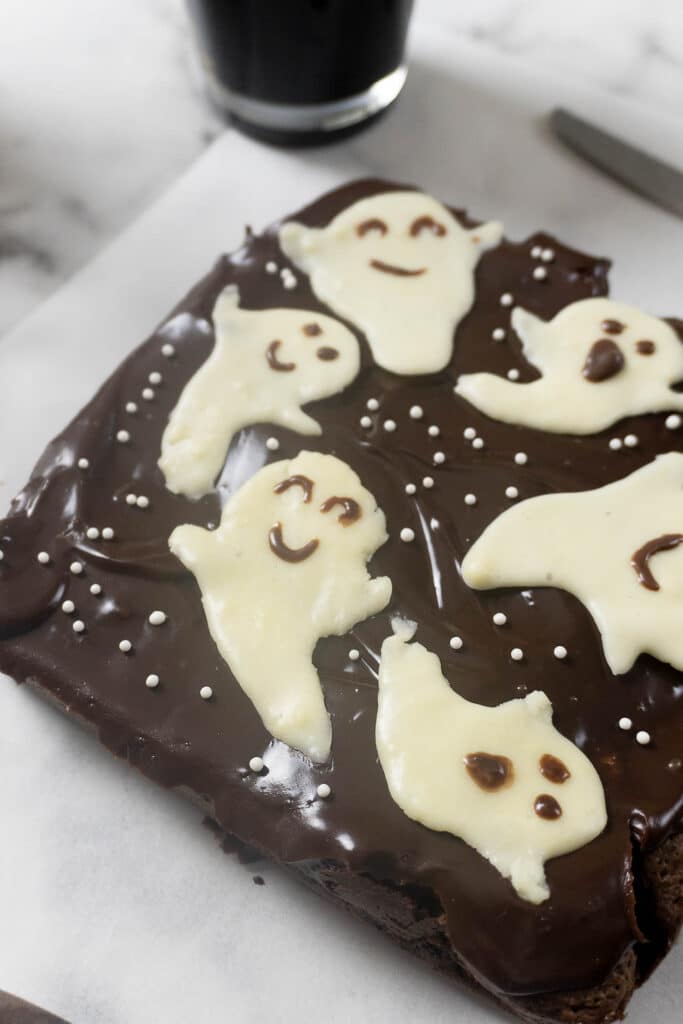
These Cute Ghost Brownies are homemade chocolate brownies topped with creamy chocolate icing and little white chocolate ghosts. They’re a fun Halloween dessert for parties, school events, or October baking, and you don’t need any special decorating equipment to make them.
What Are Cute Ghost Brownies?
Cute ghost brownies are a Halloween dessert made with a rich chocolate brownie base and edible ghost decorations. There are several ways to make them, but this version uses homemade white chocolate ghosts instead of marshmallows, frosting, or cheesecake.
The recipe has three main parts:
- Chocolate brownies: Made with melted chocolate, cocoa powder, butter, eggs, and sugar for a dense, fudgy texture.
- Chocolate icing: A smooth mixture of semisweet chocolate and heavy cream that covers the brownies.
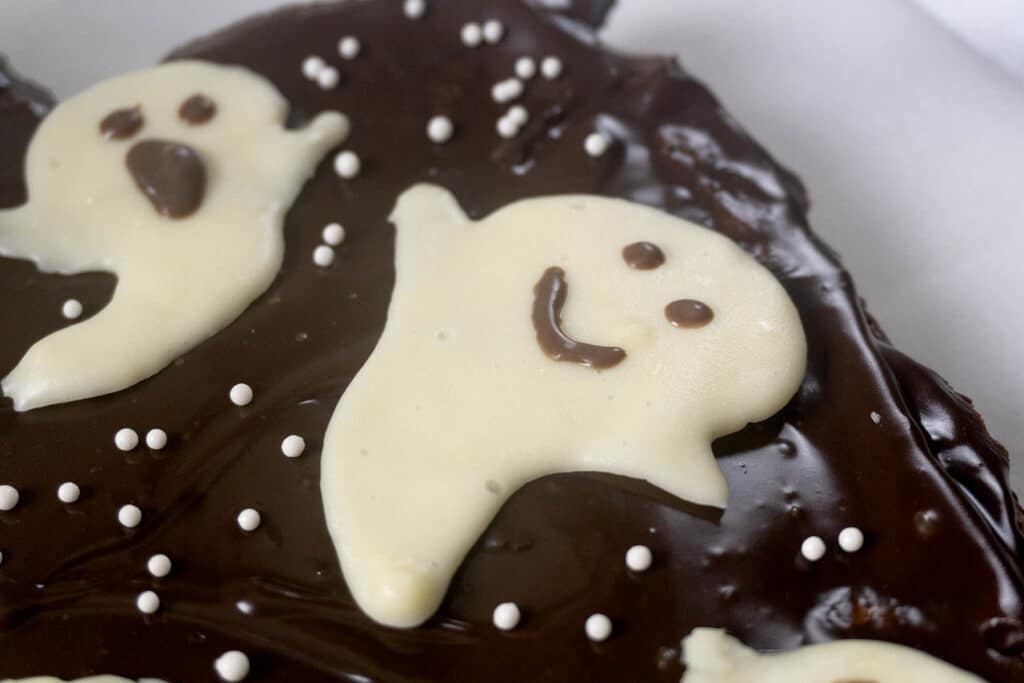
- White chocolate ghosts: Small ghost shapes made with melted white chocolate and cream, finished with chocolate eyes and mouths.
The finished brownies have a chocolate icing layer underneath the decorations, giving the white ghosts a dark background that makes them stand out.
How Did They Not All Melt Together After Piping?
The ghosts aren’t actually piped onto the brownies. They’re made separately on parchment paper and frozen before being transferred to the finished dessert.
This keeps the individual ghost shapes from running together or sinking into the chocolate icing.
Here’s what helps them keep their shape:
- Separate parchment paper: Each ghost is formed individually using melted white chocolate and a toothpick to create the body and arms.
- Freezing: The ghosts go into the freezer for about 20 minutes to firm up.
- Chocolate details: The eyes and mouths are added with melted semisweet chocolate, followed by another 20 minutes in the freezer.
- Final assembly: The frozen decorations are carefully placed onto the cooled brownies after the chocolate icing has had time to set.
The important part is allowing the chocolate to firm up before moving the ghosts. If the decorations are still soft, they can bend, break, or lose their shape.
Did You Use An Especially Firm Cheesecake Batter?
No, this recipe doesn’t use cheesecake batter at all.
Some Halloween ghost brownies are made with cheesecake swirls or cream cheese mixtures that are piped directly onto the brownie batter before baking. Those recipes depend on the consistency of the cheesecake mixture to keep the decorations from spreading.
These cute ghost brownies use white chocolate instead. The ghosts are made with white chocolate chips and heavy cream, then chilled until firm enough to handle.
The brownies themselves are baked separately and covered with chocolate icing. This gives you a completely different texture from ghost cheesecake brownies, with a fudgy chocolate base and a smooth chocolate topping.
Did You Make Molds For The Ghosts Ahead Of Time?
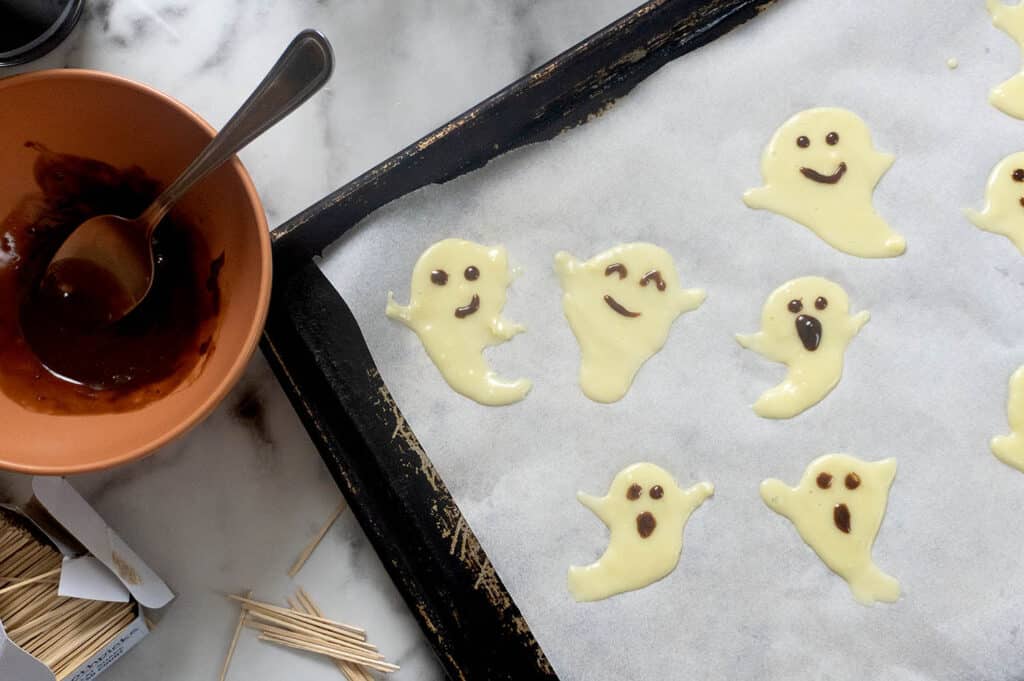
No molds are necessary for these Halloween ghost brownies. The ghosts are shaped by hand on parchment paper using a spoon and toothpick.
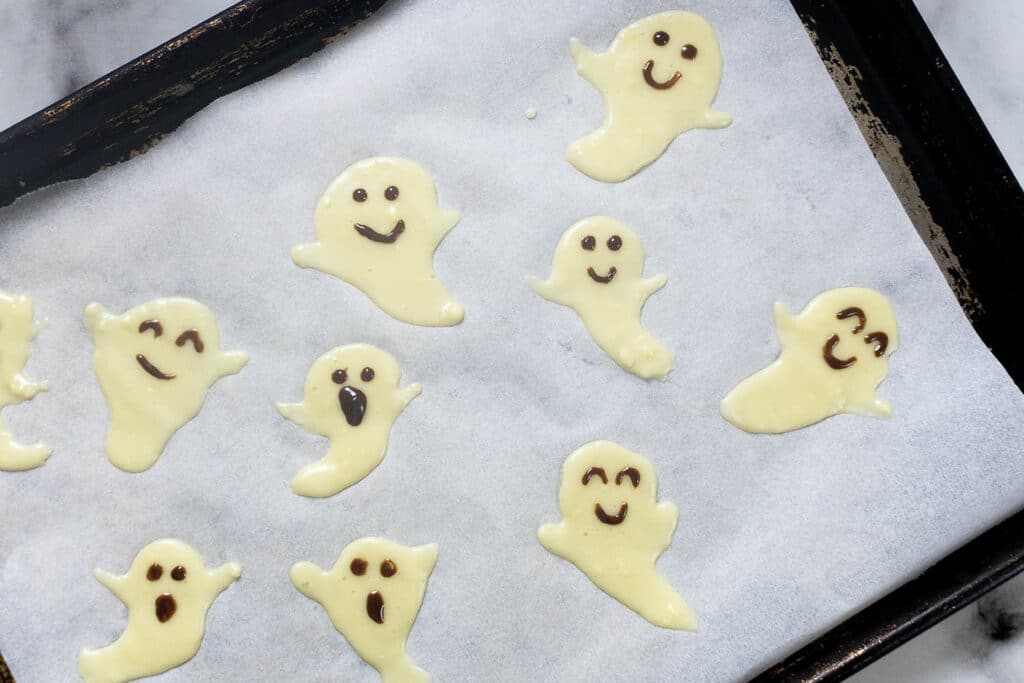
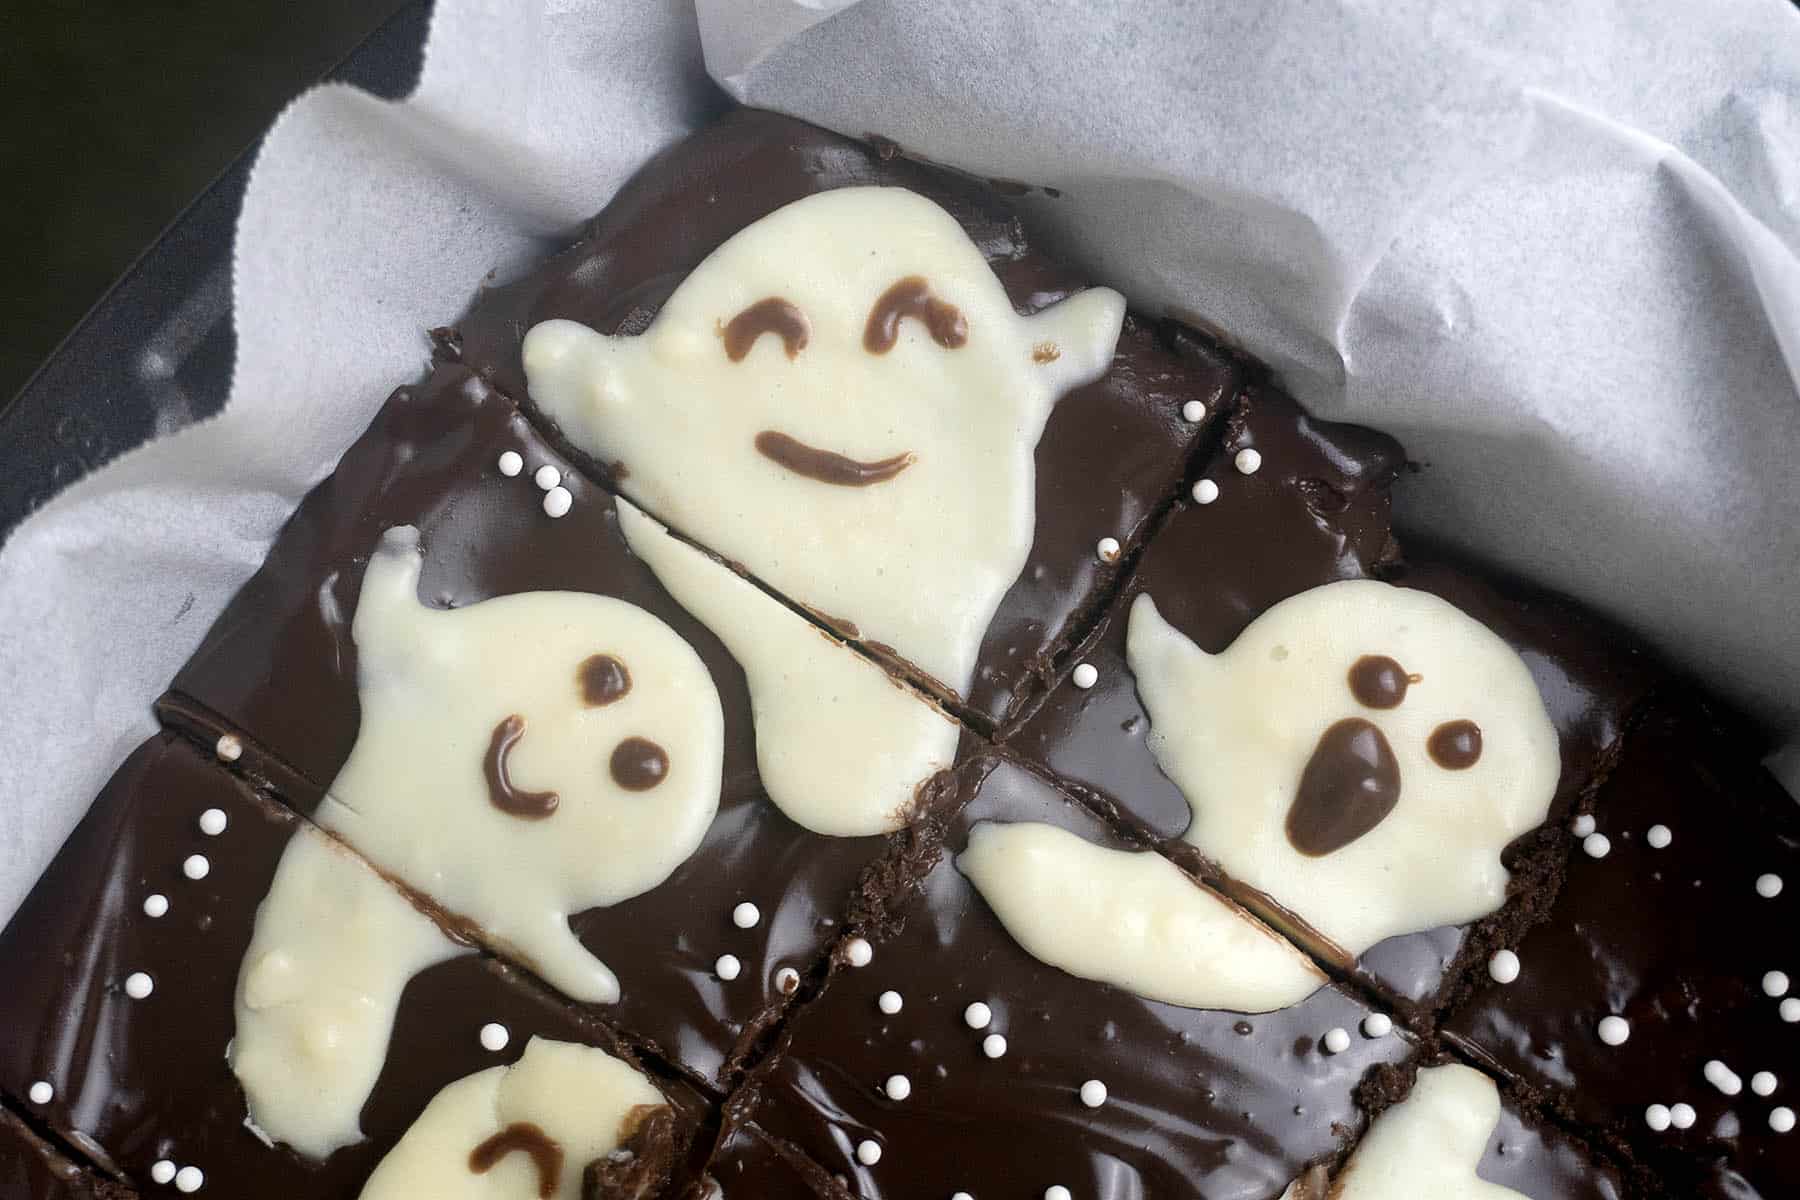
You don’t need them to look exactly alike, either. Some can have longer arms, wider bodies, or slightly different expressions.
A few things to keep in mind:
- Leave enough room between the ghosts on the parchment paper.
- Make them thick enough that they won’t break when lifted.
- Use a toothpick to create the arms and adjust the shape.
- Keep the decorations frozen until you’re ready to assemble the brownies.
- Lift them gently with a butter knife or small spatula.
You can also prepare the white chocolate ghosts ahead of time and keep them refrigerated in a covered container until you’re ready to decorate.
Can You Make Ghost Brownies Ahead Of Time?
Yes, these ghost brownies are a good make-ahead Halloween dessert because several steps require cooling or chilling anyway.
The brownies need to cool before the chocolate icing is added, and the icing needs time to set before decorating. The assembled brownies also spend two hours in the refrigerator before slicing.
If you’re making them for a Halloween party, preparing them the day before is a practical option.
You can even bake the brownie base one day and prepare the chocolate decorations the next. This breaks up the work and makes decorating easier.
Storage Instructions
Because these brownies contain chocolate icing made with heavy cream, they should be stored in the refrigerator.
- Refrigerator: Store the brownies in an airtight container for up to 4 days.
- Freezer: Freeze for up to 2 months. For the best appearance, freeze the brownies without the ghost decorations and add them after thawing.
- Make Ahead: Prepare the brownies and ghosts separately, then assemble them before serving.
- Serving: Let refrigerated brownies sit at room temperature for about 10 minutes if you prefer a slightly softer texture.
If you’re stacking the brownies, place parchment paper between layers and avoid putting pressure directly on the white chocolate ghosts.
Ghost Brownies
Equipment
- 1 8 x 8 baking dish
Ingredients
Brownies
- ½ cup butter 1 stick
- ¾ cup white sugar
- ¼ cup brown sugar packed
- ⅔ cup semi sweet chocolate chips
- 2 eggs room temp
- 1 egg yolk
- 1 tbsp vanilla
- ¼ cup cocoa powder
- ½ tsp salt
- ¾ cup flour sifted
- 1 cup add-in's (walnuts, chocolate chips, etc.) optional
Chocolate Icing
- ¾ cup semi sweet chocolate chips
- ½ cup heavy cream
- pinch of salt
White Ghosts
- ⅓ cup white chocolate chips
- 1 tbsp heavy cream
- 1 tbsp semi sweet chocolate chips
- ½ tsp heavy cream
Instructions
For the Brownies
- Preheat oven to 350℉. Grease your 8 x 8 pan and line with parchment paper for easy removal.
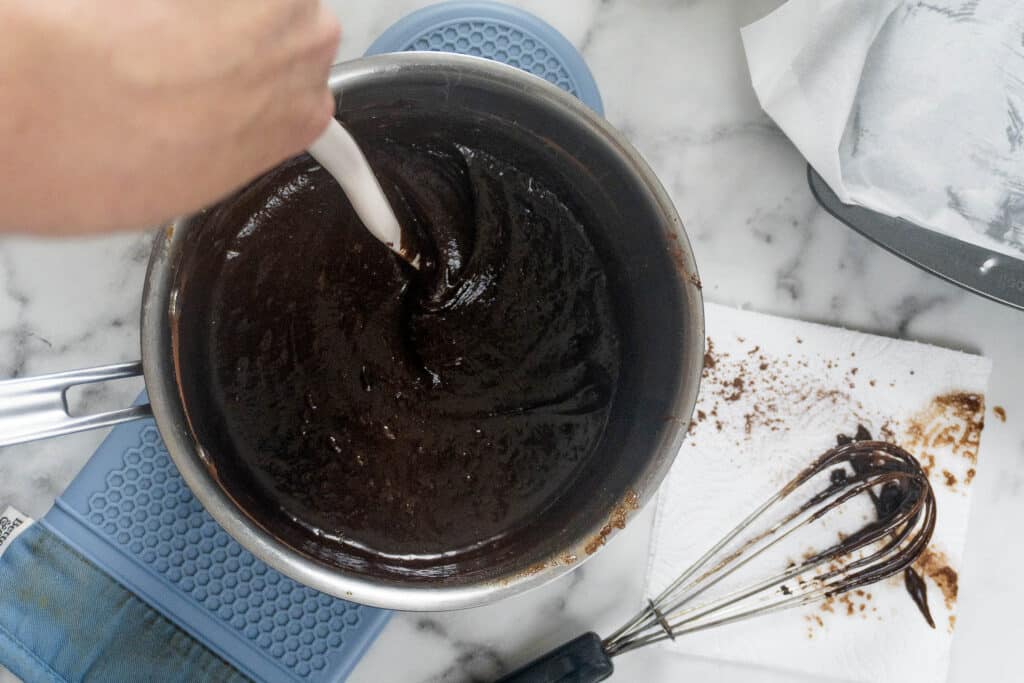
- In a medium pot, over medium-low heat add butter, white sugar, brown sugar, and chocolate chips. Stir until the butter melts and everything is combined and smooth. Remove from heat.
- Let the mixture cool for 5 minutes. Then, mix in your eggs and egg yolk, whisking vigorously for 1 minute until combined. Then add vanilla.
- Add in cocoa powder and salt. Stir to combine. Gently fold in the flour until just combined. Then dump in add-in's if using.
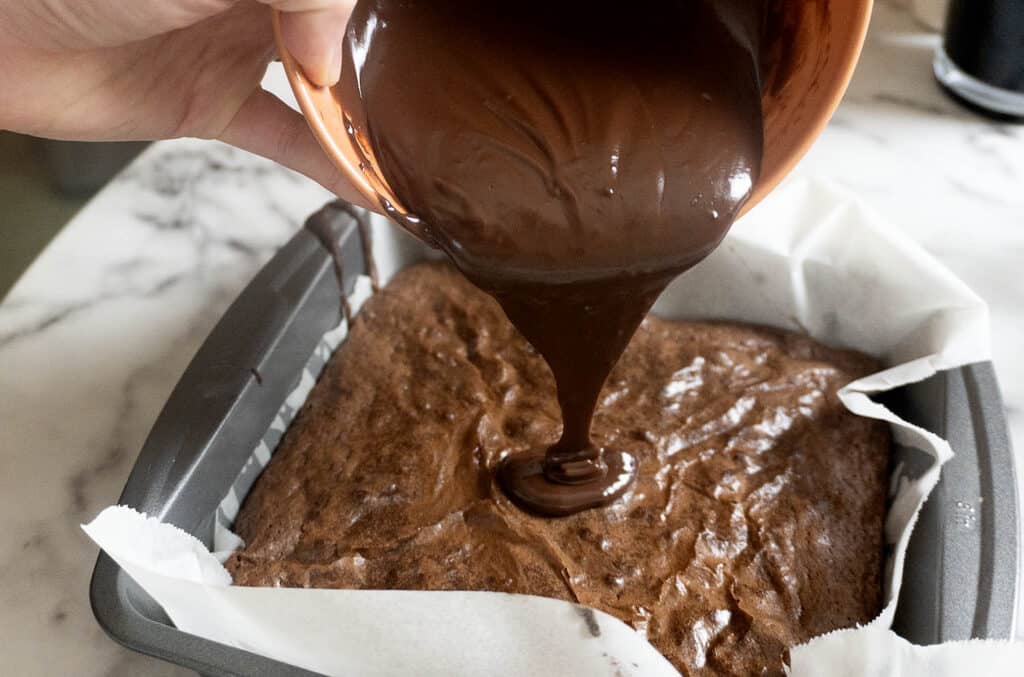
- Pour into prepared dish and smooth out top. Bake until you can insert and remove a toothpick or knife clean, about 21 minutes.
- Cool for 1 hour.
Icing
- Heat cream in a small saucepan over medium low heat until steam arises.
- Add chocolate chips to a heat proof bowl, and pour cream over. Whisk until combined
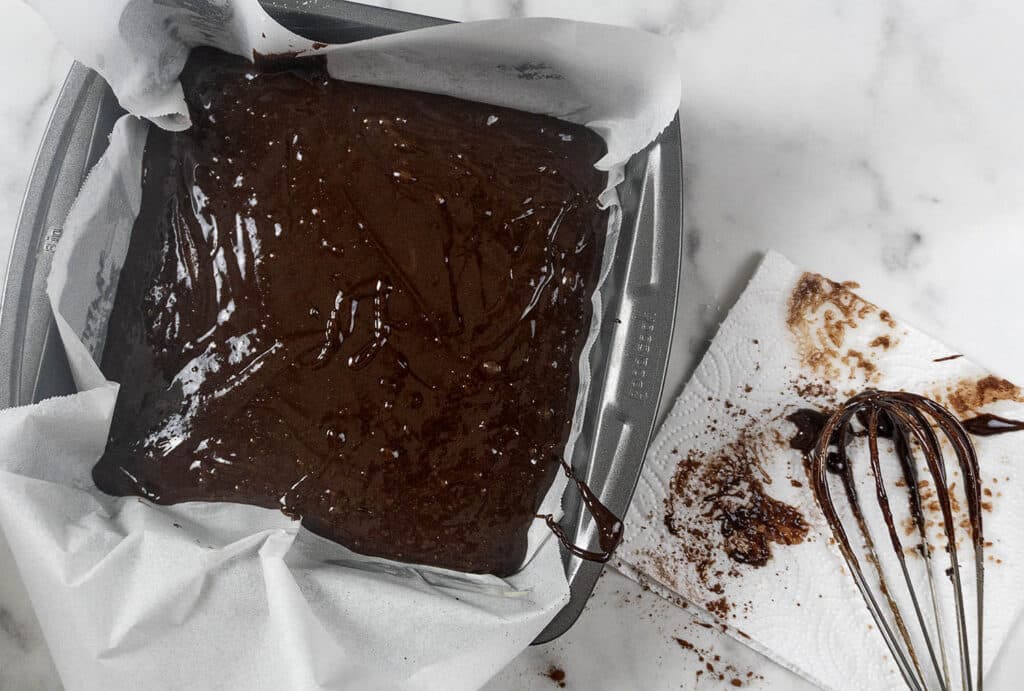
- Pour the icing over the brownies, smoothing out with a rubber spatula if needed. Let sit 1 hour before decorating
Decorating
- Line a sheet pan with parchment paper.
- Add the while chocolate chips and cream in a heat safe bowl, and microwave in 30 second bursts until melted. Mix to combine.
- Spoon about 1 – 2 tbsp of the melted white chocolate onto the parchment paper. Use a toothpick to shape into a ghost form and give little arms. Repeat until chocolate is gone or you have enough ghosts.
- Freeze for 20 minutes.
- Next, melt the semi sweet chocolate chips and cream in a heat safe bowl in the microwave (this one will be for the eyes and mouth). Mix to combine and make smooth.
- Remove ghosts from freezer. Use a toothpick to dot eyes and make mouths on the ghosts. Freeze again for another 20 minutes.
Assembly
- Remove the ghosts from the freezer. Carefully remove them from the parchment paper (we used a butter knife to help) and place on the brownies, gently pressing in a bit.
- Chill in fridge for 2 hours, then cut and enjoy.