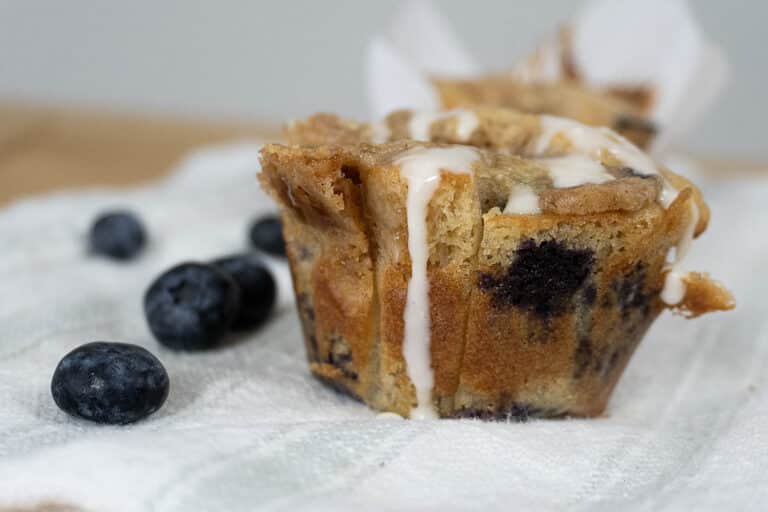
Apple Pie Filling Recipe
Apple pie filling is the heart of a perfect fall apple pie. Think cool evenings, a warm kitchen, and that first slice that reminds you of family gatherings and changing leaves.
This is the kind of filling that bakes up cozy and steady, so your pie slices stand tall and bring back the good stuff from every autumn you remember.
Should You Cook Your Apples Before Putting Them In Pie?

Gently cooking the filling first gives you control. Apples release a lot of juice in the oven. A short stovetop simmer lets the fruit soften, the juices thicken, and the spices bloom so you can see the final texture before the pie bakes.
Prefer the traditional method? You can keep the apples raw. Slice evenly, mound them high, and bake long enough for the juices to thicken. Expect a little shrink as the apples settle.
What Is The Best Thickener For Apple Pie Filling?
Choose the thickener that matches how you plan to bake and serve.
- Cornstarch
Clear, glossy set and quick thickening. Great for stovetop fillings that go straight into the crust. - Instant tapioca or tapioca starch
Clean set that freezes well. Instant tapioca needs a short rest to hydrate. Tapioca starch works directly. - All-purpose flour
Reliable pantry pick with a softer, opaque set. Classic, old-school look and feel. - Cook-type ClearJel
The most stable choice for canning or batch prep. Follow package ratios.
A simple rule helps: mix your starch with the sugar before it hits the apples. That keeps the thickener from clumping and spreads it evenly.
What Is The Secret To A Good Apple Pie?
It is a stack of small choices that add up.
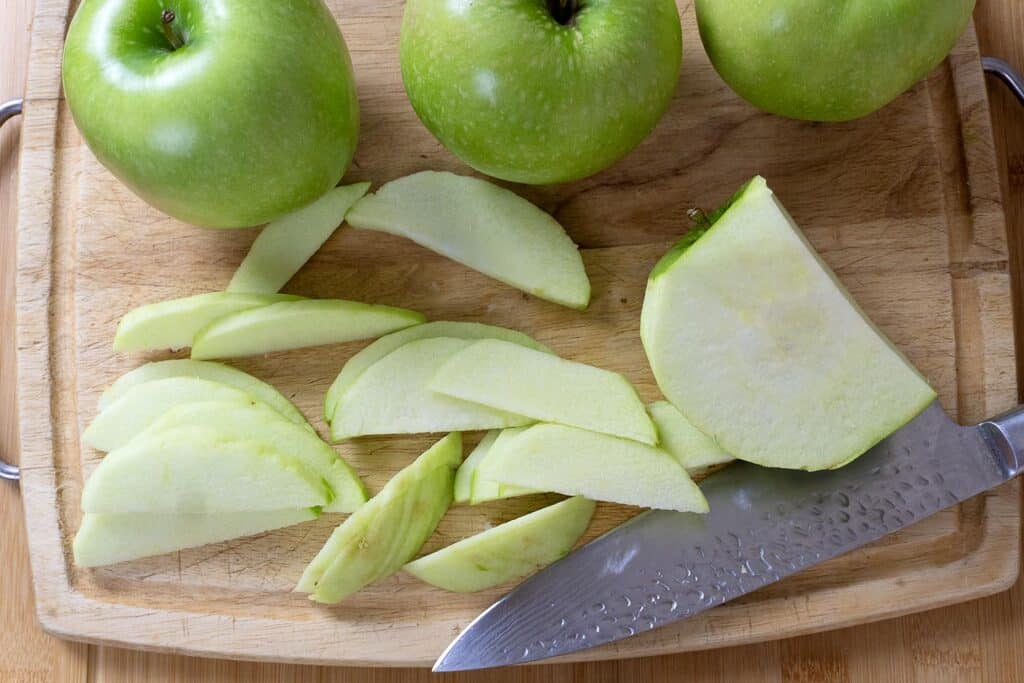
Start with a mix of apples so the filling holds shape and tastes balanced. Keep the slices about a quarter inch thick for even cooking. Add a spoon of lemon juice for brightness and to help with browning. Use cinnamon with a light hand and let the fruit lead. After baking, give the pie time to rest so the juices settle and slices cut clean.
What Is The Most Common Mistake People Make When Making Apple Pie?
Rushing. Here is how it shows up and how to fix it:
- Undercooked set
Thin, runny juices come from not cooking the filling long enough or using too little starch. Simmer until the juices are glossy and bubble gently. - Uneven slices
Slivers get mushy while thick chunks stay firm. Keep slices uniform. - Skipping acidity
Lemon juice sharpens the profile and keeps the fruit lively. - Heavy spice hand
Too much spice can bury the apples. Start light, taste, and adjust. - No steam path
Vent the top crust or use a lattice. Steam needs a way out so the filling thickens instead of stewing. - Cutting too soon
Warm pie smells great, but a short rest sends juices everywhere. Cool on a rack until set.
What Is The Apple Pie Rule?
Use this quick checklist before you fill the crust.
- Two apple types, one tart and one sweet.
- About 6 cups sliced apples for a 9-inch pie.
- The right starch ratio for a clean set, not soupy and not pasty.
- A touch of lemon for balance.
- Time to rest after baking so slices hold.
Core Stovetop Apple Pie Filling Method
This method gives you a predictable, pie-ready filling.

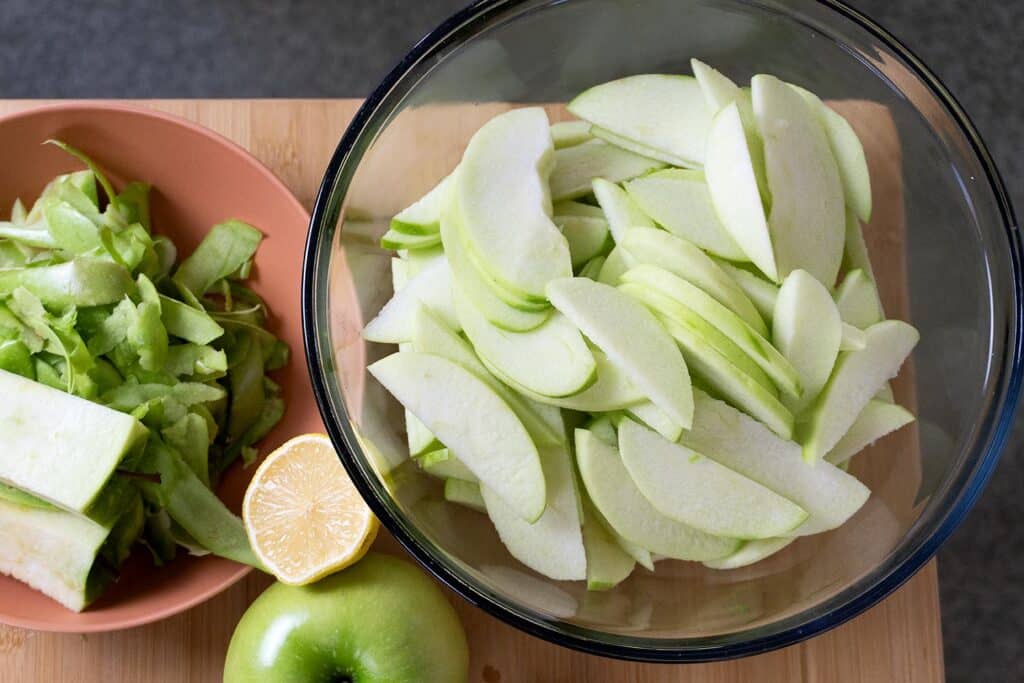
- Toss 6 cups peeled, quarter-inch apple slices with ½ to ¾ cup sugar, 1 to 2 teaspoons lemon juice, ¼ teaspoon salt, and cinnamon to taste.
- Whisk 2 tablespoons cornstarch with 2 tablespoons sugar, then stir that into the apples.
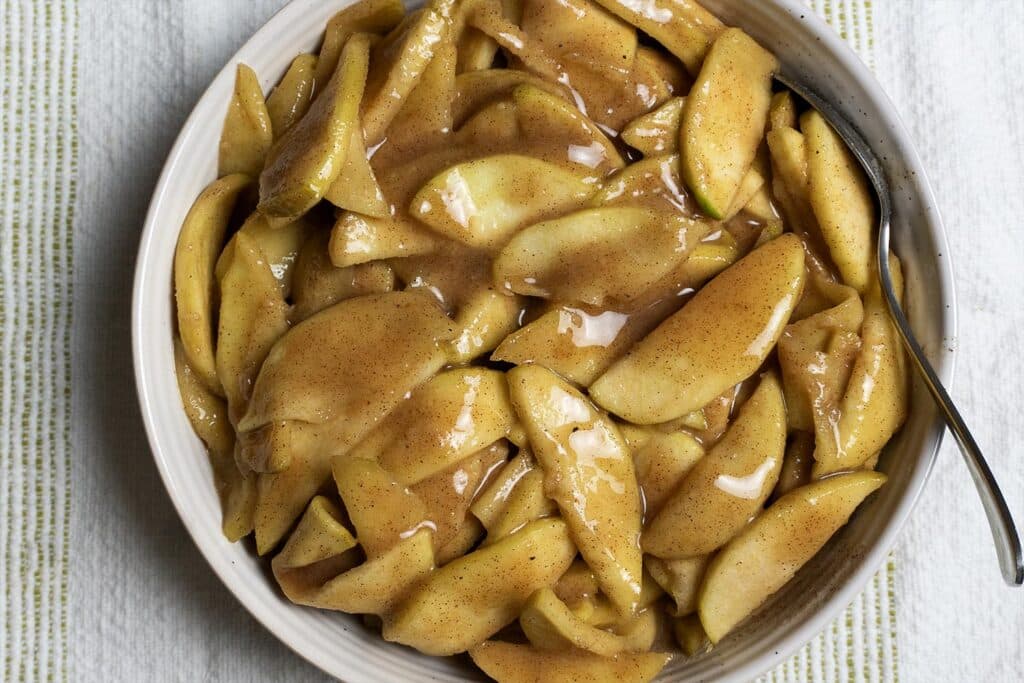
- Cook over medium heat, stirring, until apples soften and the juices turn thick and glossy, about 5 to 8 minutes. Add a splash of apple juice if too tight, or simmer a minute longer if loose.
- Cool to room temperature. Fill the crust once the mixture is no longer warm.
Freezer note: swap cornstarch for 2 tablespoons tapioca starch or use cook-type ClearJel for the most stable thaw.
Storage Instructions
- Refrigerator
Cool the cooked filling and store in an airtight container for 4 to 5 days. - Freezer
Portion into bags or containers and freeze up to 3 months. Thaw overnight in the fridge and stir before using. - Reheating
Warm gently on the stovetop. If the filling tightens in the fridge, loosen with a small splash of apple juice.
Once you dial in the timing and the thickener you like best, this apple pie filling will carry you through the whole season. It bakes up steady, brings that fall feeling to the table, and turns a simple crust into a pie people remember.

Apple Pie Filling Recipe
Materials
- 6 – 8 medium apples preferably Granny Smith
- ¼ cup granulated sugar
- 2 tbsp lemon juice
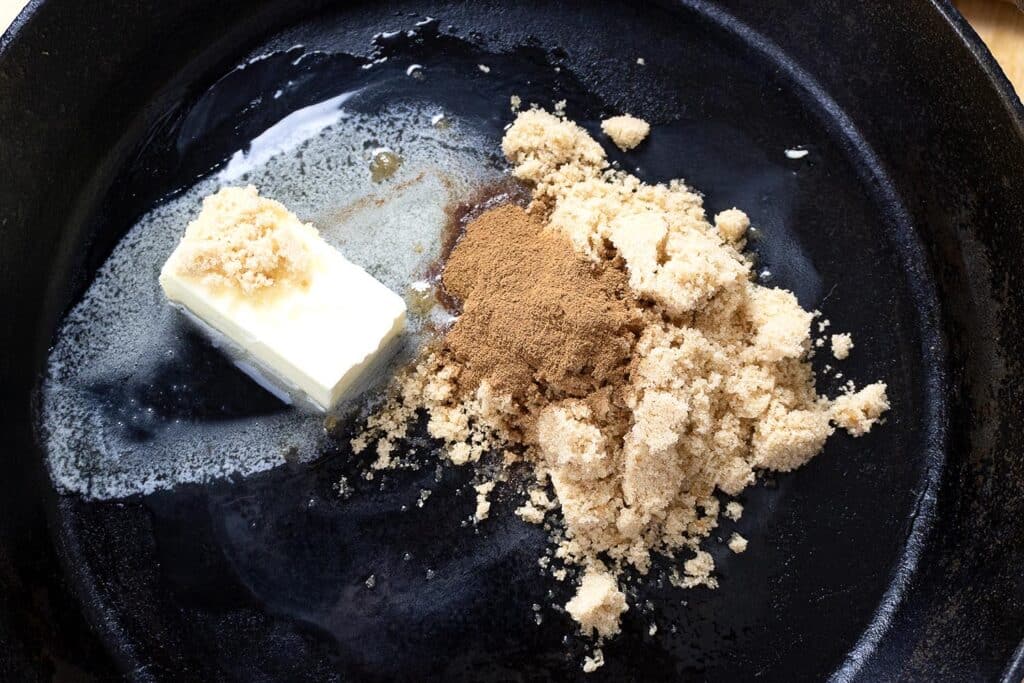
- ¼ cup butter
- ½ cup brown sugar
- good pinch of salt
- 1½ tsp apple pie spice mix
- ¼ + 2 tbsp cup water
- 2 tbsp cornstarch
Instructions
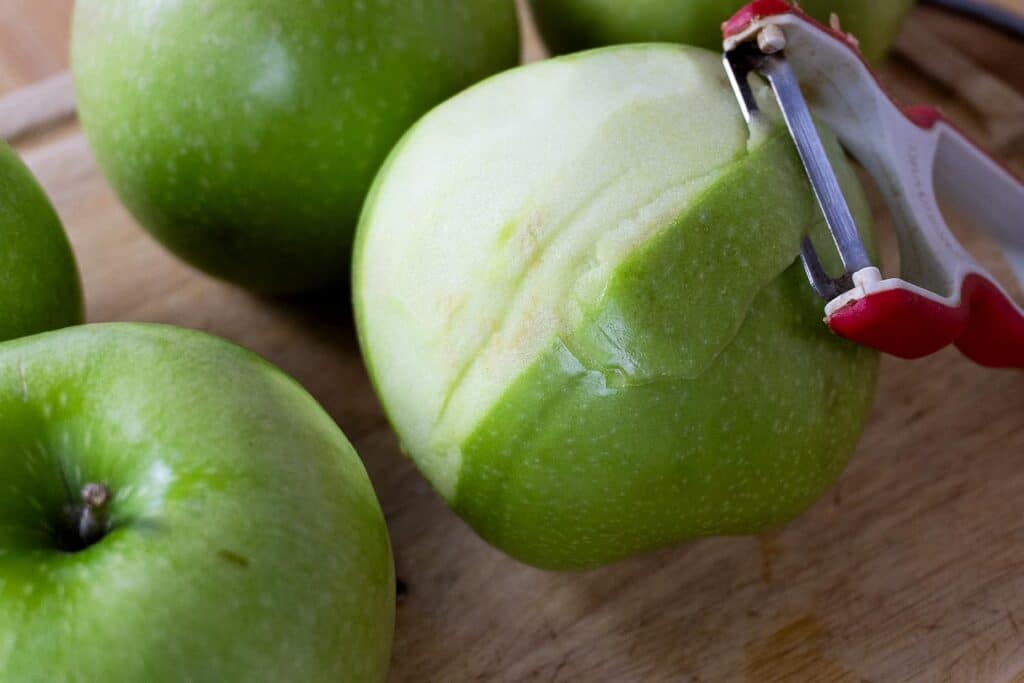
- Peel, core, and cut the apple into thin slices or chunks (whichever you prefer). Place them in a large bowl. Sprinkle with the granulated sugar and lemon juice. Toss to coat and set aside.
- In a large pan over medium heat, add your butter, brown sugar, salt, apple pie spice mix, and ¼ cup of water. Stir frequently and bring to a low simmer.
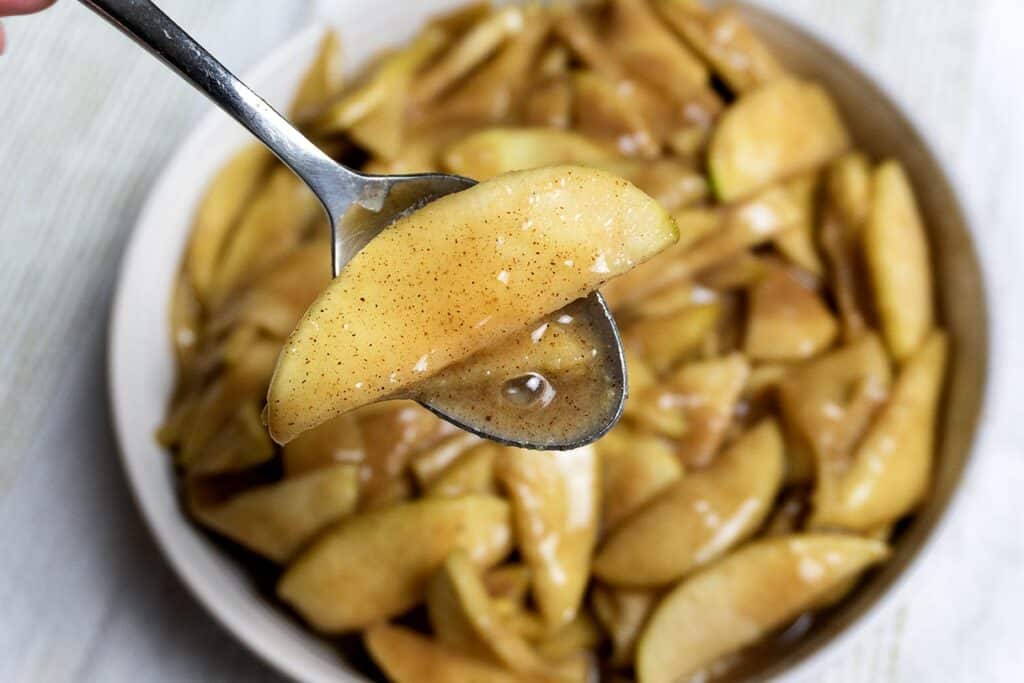
- Dump in the apples, including any liquid from the bowl. Stir to coat the apples in the butter mixture. Cook, stirring occasionally for 5 minutes until slightly softened and fragrant.
- Meanwhile, mix together 2 tbsp of water and 2 tbsp of cornstarch in a small bowl. Add to the pan and stir to combine. Bring to a light boil and cook for another minute to thicken.
- Remove from the heat and allow to cool.

This is EXACTLY what I was looking for!!!! Can’t wait to make this filling for Thanksgiving!